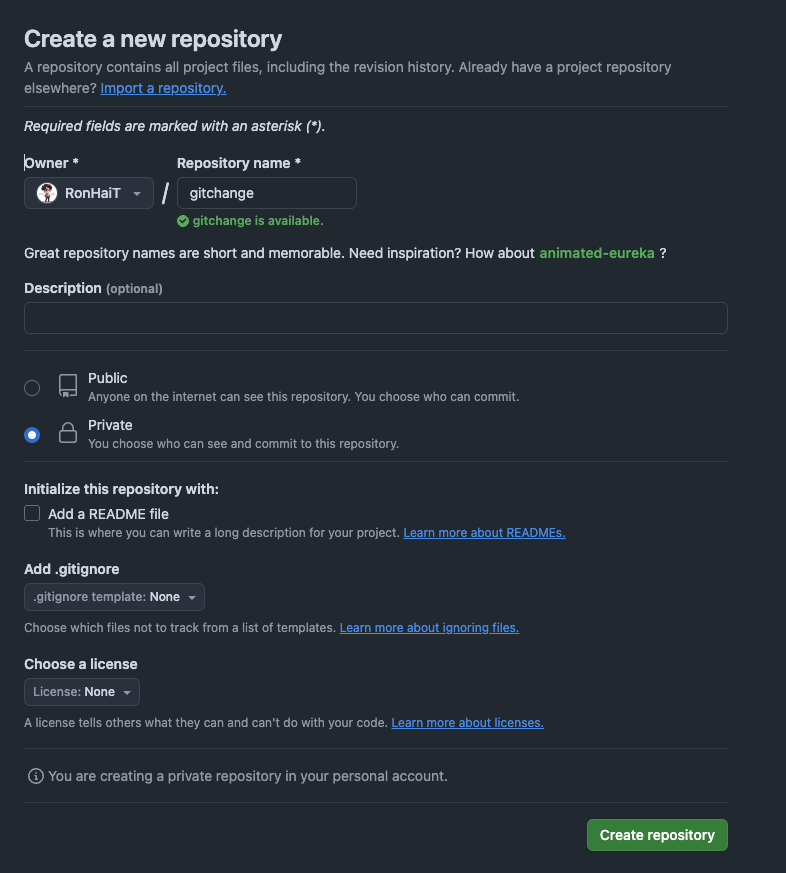
新建仓库
新建代码上传仓库,私用公开都可用,我设置的是私有一样可用.仓库建立后把代码传到 github 仓库
or create a new repository on the command line
echo "# gitchange" >> README.md
git init
git add README.md
git commit -m "first commit"
git branch -M master
git remote add origin git@github.com:RonHaiT/gitchange.git
git push -u origin master
or push an existing repository from the command line
git remote add origin git@github.com:RonHaiT/gitchange.git
git branch -M master
git push -u origin master
配置仓库密钥
点击 Settings -> Sectets and variables -> Actions -> New repository sectet
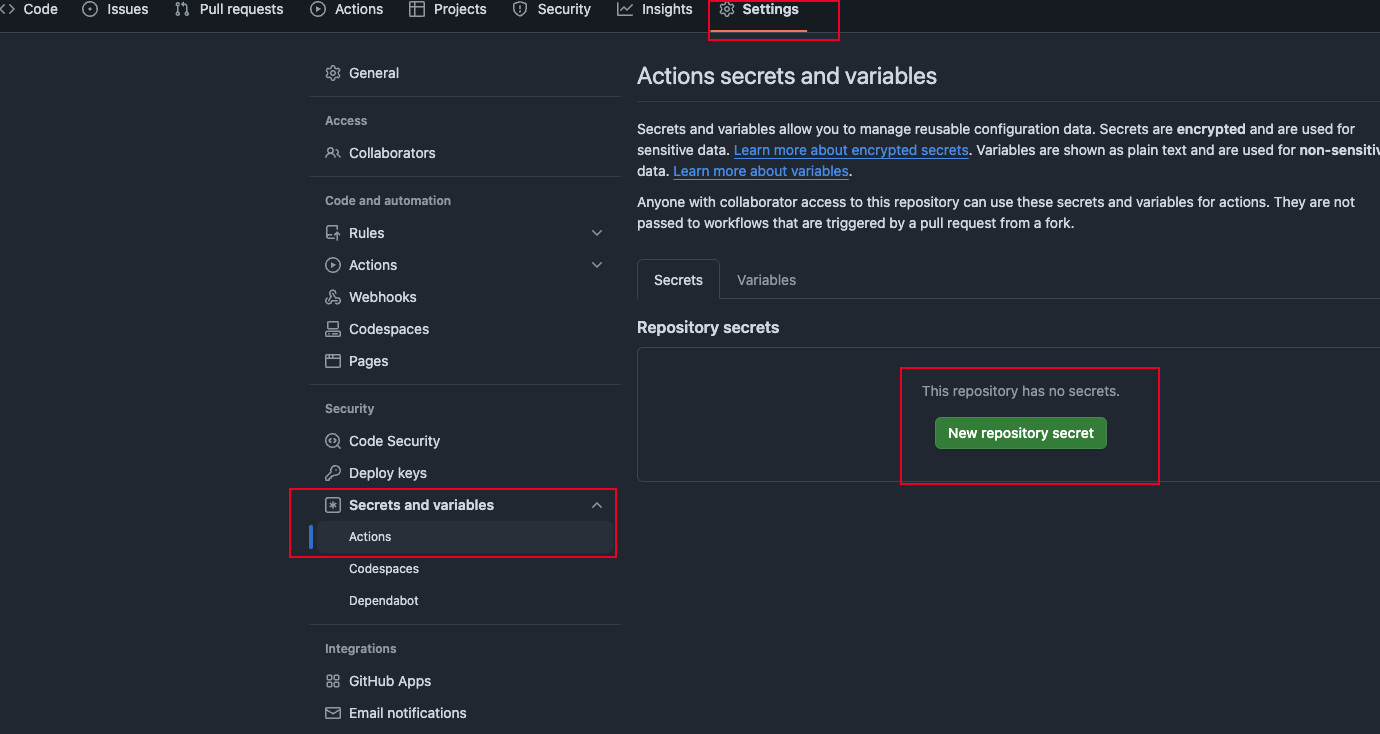
依次添加以下变量
- Name:SERVER_HOST / Secret:服务器公网IP
- Name:SERVER_USERNAME / Secret:服务器用户名
- Name:SERVER_PASSWORD / Secret:服务器密码
- Name:SERVER_PORT / Secret:服务器端口(默认就是22)

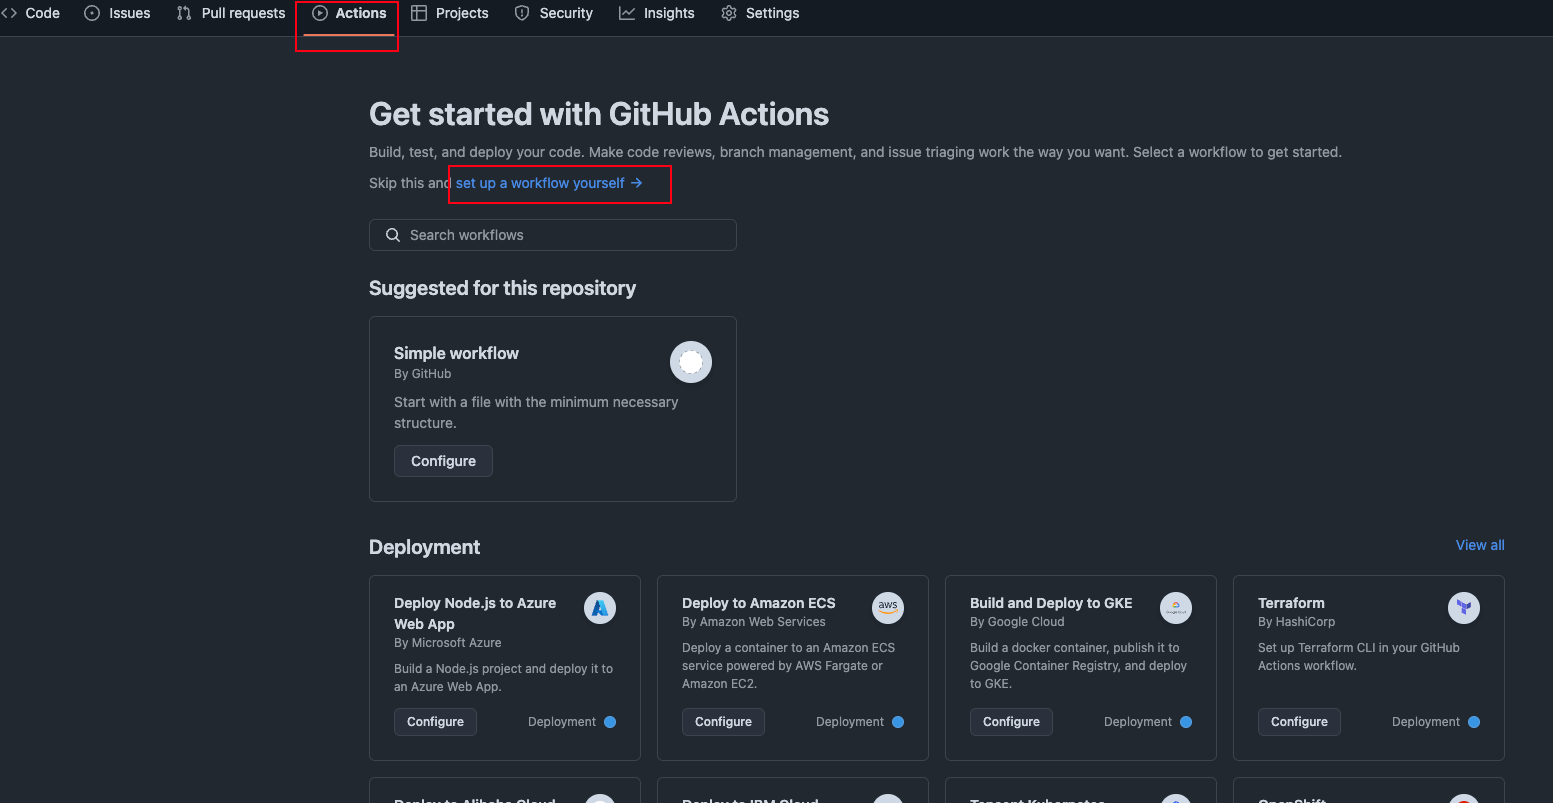
配置 Actions 工作流
点击 Actions -> set up a workflow yourself
新建的 main.yml 文件名可以自定义,例:rh.yml
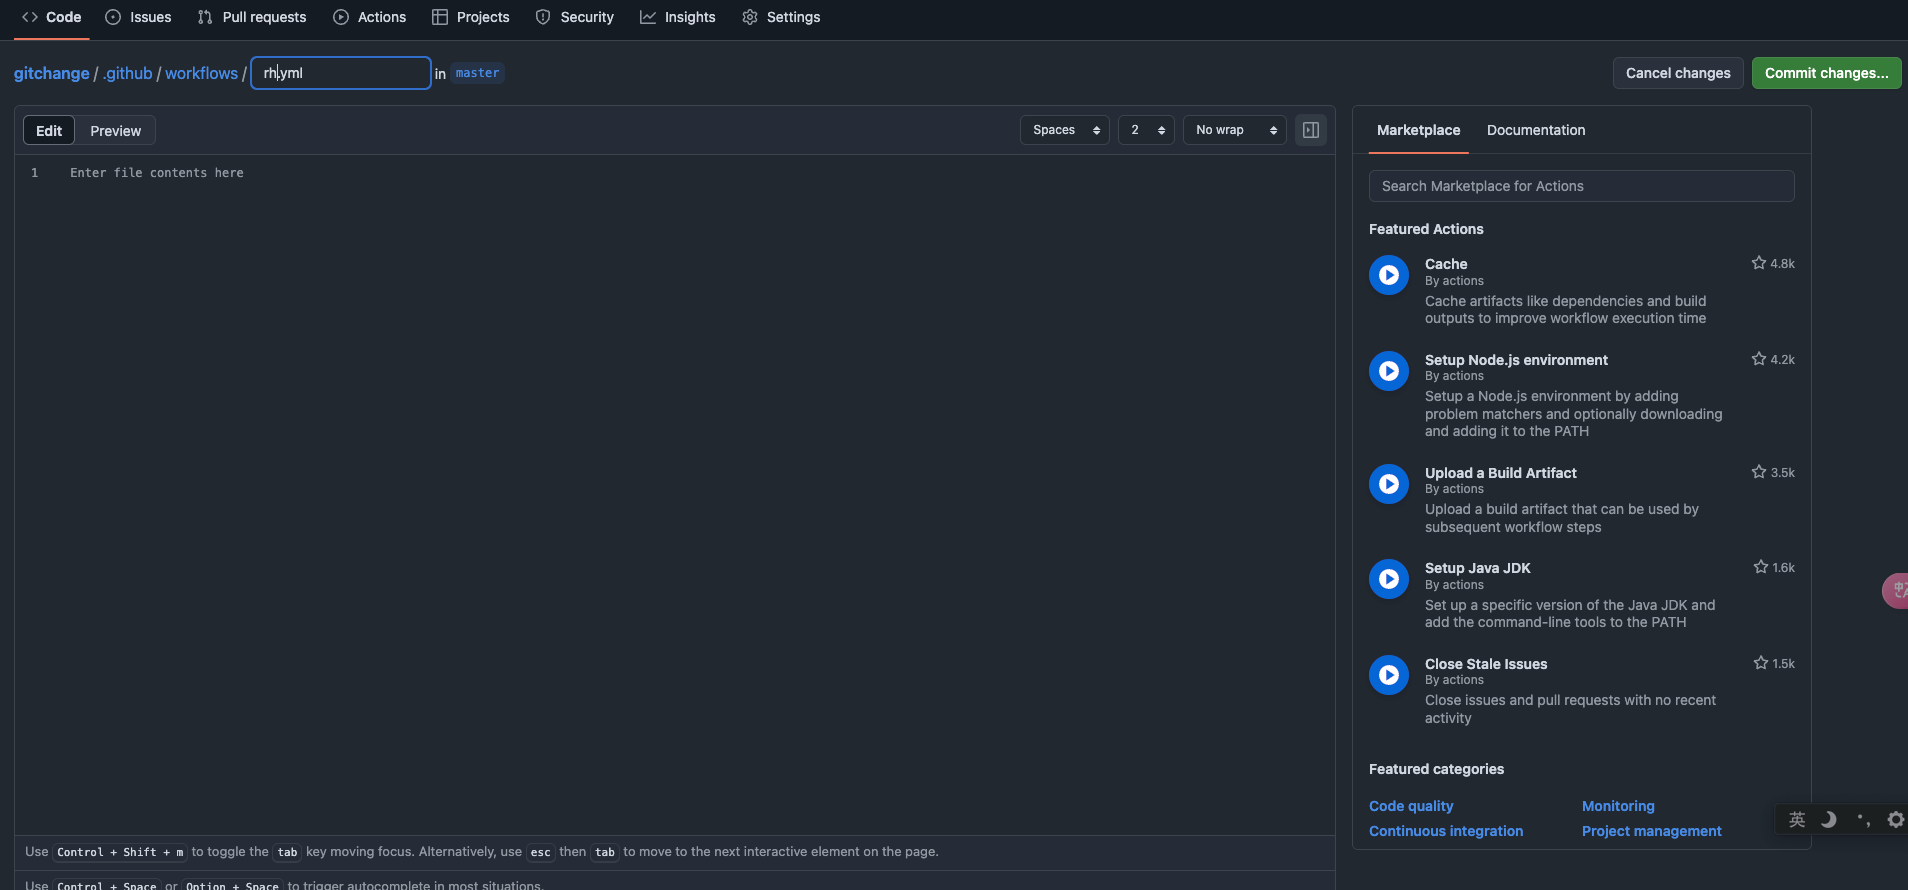
将以下配置填充到 rh.yml,部署服务器 - 更多配置项请参考:scp-action
name: Build and Deploy
# 监听 master 分支上的 push 事件
on:
  push:
    branches:
      - master
jobs:
  build-and-deploy:
    # 构建环境使用 ubuntu
    runs-on: ubuntu-latest
    steps:
      # 官方action, 将代码拉取到虚拟机
      - name: Checkout
        uses: actions/checkout@v3
        with:
          persist-credentials: false

      # 安装node.js
      - name: Use Node.js
        uses: actions/setup-node@v3
        with:
          node-version: "22.14.0"

      # 下载依赖、打包项目
      - name: Install and Build
        run: |
          npm i -g pnpm
          pnpm install
          pnpm build

      # 部署到服务器
      - name: Upload to Deploy Server
        uses: appleboy/scp-action@master
        with:
          # 服务器域名
          host: ${{ secrets.SERVER_HOST }}
          # 服务器用户名
          username: ${{ secrets.SERVER_USERNAME }}
          #key: ${{ secrets.SSH_PRIVATE_KEY }}
          # 服务器密码
          password: ${{ secrets.SERVER_PASSWORD }}
          # 服务器端口
          port: ${{ secrets.SERVER_PORT }}
          # 指定上传的文件目录(项目配置的打包目录名称)
          source: './dist/*'
          # 指定买的服务器上传目录
          target: '/home/www/nginx/html'
          # 解压时覆盖现有文件
          overwrite: true
          # 删除指定数量的前导路径元素
          strip_components: 1
          #debug: true  # 开启调试模式
注意: branches:根据自己仓库分支名进行修改,如 master node-version:根据项目支持的 node 版本进行修改 source:根据项目打包目录名称进行修改
点击右上角 Commit Changes…,提交至仓库
仓库根目录下会生成一个 .github/workflows 文件夹

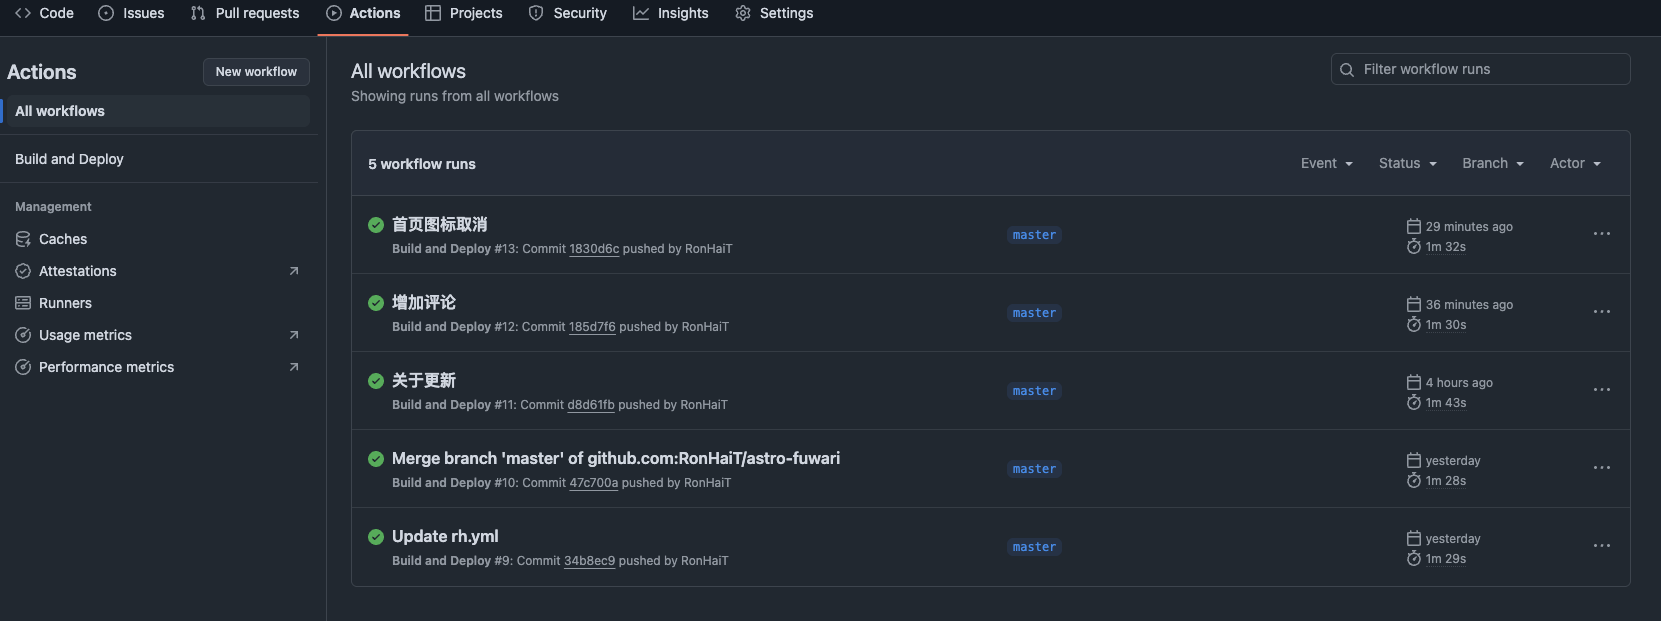
查看 Actions 工作流
点击 Actions 进入工作流页面,如果有报错可以点击查看详情一个个解决即可
配置nginx
上传完成就是需要配置 nginx 即可访问,如果域名没有备案需要先备案。如果不是国内服务器配置 nginx 即可访问,不需要备案